This post will provide you with a thorough, step-by-step tutorial on how to modify your Apple ID email address right from your iPhone.
As the entry point to Apple’s ecosystem, your Apple ID gives you access to a number of services, including iTunes, the App Store, iCloud, and more. You may need to alter the email address linked to your Apple ID for many reasons, such as transferring email providers, merging accounts, or changing your contact details. Thankfully, Apple provides a simple method to modify the email address associated with your Apple ID. In this guide, we’ll take you step-by-step through the process of completing this activity.
Your Apple email ID is a crucial component of your iPhone’s identity because it is used for so many Apple services, such as iCloud, iTunes, and the App Store.
It’s essential to follow the proper procedures to guarantee a seamless transition when you wish to update or modify your Apple email ID address on your iPhone, whether because you’ve switched email providers or it’s just a matter of preference.
This post will provide you with a thorough, step-by-step tutorial on how to modify your Apple ID email address right from your iPhone. Now, let’s get started!
How To Change Apple Email ID Address on your iPhone
To modify your Apple ID for email;
Step 1: Go to Settings
Start by unlocking your iPhone and finding the “Settings” app—denoted by a gear icon—on your device. Tap on it to access the Settings menu.
Step 2: Select Your Apple ID
Tap on your Name in the Settings menu. It will appear at the top of the screen. This will allow you to access the Apple ID settings.
Step 3: Go to Name, Phone Numbers, Email
You will see a number of account-related options on the Apple ID screen.
Find the “Name, Phone Numbers, Email” option, then press on it. For verification, you might be asked to enter your Apple ID password.
Step 4: Manage your Email Address
All of the email addresses connected to your Apple ID are listed in the “Name, Phone Numbers, Email” section. Press the “Edit” button, which is often found next to Contacted At in the upper-right corner.
Step 5: Remove the Old Email Address
Each email address will have a red minus (–) icon next to it. Find the old email address that you wish to modify, press the plus (–) symbol, and then select Delete.
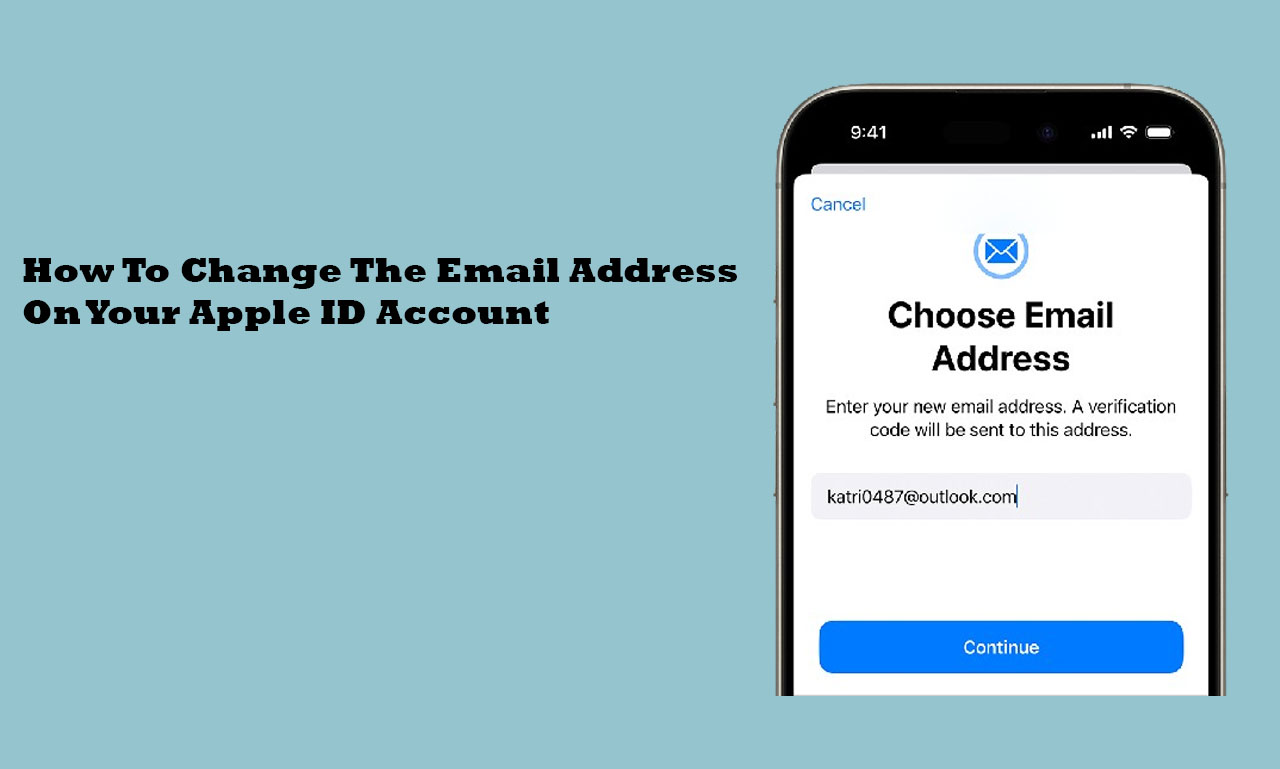
Step 6: Add New Email Address
You’ll get a pop-up inviting you to select another email once you touch Delete. After choosing a different email, enter the password for your device.
Make sure the new email address you provide in the space provided is a working email address. Press “Next” after entering the new email address.
Step 7: Verify New Email Address
Apple will send a verification email to your new email address. Locate the email by opening your iPhone or another device’s email inbox.
To confirm the new email address, adhere to the directions in the email.
Step 8: Set the Primary Email Address
After confirming the new email address, go back to the “Name, Phone Numbers, Email” section of your Apple ID settings.
When you tap on the new email address, a tick will show up next to it, signifying that it is your Apple ID’s primary email address.
Alternatively:
- Go to appleid.apple.com to access your account and log in.
- Click on the Sign-In and Security area and choose Apple ID.
- Enter the email address you want to use to log in to your Apple ID.
- In the event that you change your Apple ID’s email address to a third-party address, look for a verification code in your email and submit it when asked.
If you use services like Messages and iCloud to communicate with others, make sure you sign in using your updated Apple ID.
Conclusion
Best wishes! The new email address is now associated with your Apple ID. From now on, log in to your Apple ID and access Apple services and products using this new email address. You can effortlessly maintain and update the email address linked to your Apple ID by following these easy steps, making sure that all of your account information is correct and current.
The iPhone settings allow you to easily modify the Apple email ID address associated with your device.
This blog post contains a step-by-step tutorial for changing your Apple ID to your new email address.
Verify the new email address and set it as the primary address linked to your Apple ID to ensure it is active.
With your new email address, continue to take advantage of Apple services and have a smooth transition!
Leave a Reply